Installing J-Channel
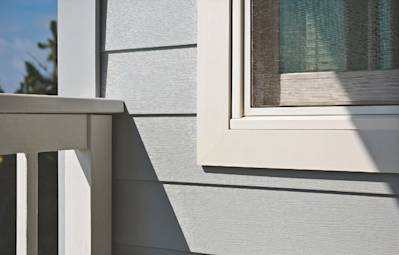
When it comes to home renovations, particularly window installations, a commonly encountered term is "J-Channel for Vinyl Siding." J-Channel is a vital component utilized for installing vinyl siding, providing a seamless, professional finish around windows, doors, and other openings. Vinyl siding, an efficient, low-maintenance, and aesthetically pleasing exterior cladding material, works in harmony with J-Channel to protect your home from the elements, enhance curb appeal, and bolster energy efficiency.
GVD Renovations & Remodeling, a reputable Sacramento siding contractor, understands the ins and outs of utilizing J-Channel for vinyl siding around windows. Serving the Sacramento area, we have the expertise and experience necessary to help homeowners transform their homes with superior siding solutions. Whether you're a DIY enthusiast or a professional contractor, understanding the specifics of J-Channel and vinyl siding installation is essential.
Benefits of Vinyl Siding
The use of vinyl siding offers several notable advantages. This popular exterior cladding option stands out for its durability, low maintenance, and energy efficiency. Unlike wood, vinyl does not rot or warp due to moisture and is not susceptible to termites. Its color does not fade quickly, meaning less frequent painting or touch-ups. Its insulating properties can also contribute to lower heating and cooling costs, making it an energy-efficient choice.
GVD Renovations & Remodeling, as an expert siding contractor, highly recommends vinyl siding, especially for homeowners in the Sacramento area. Its resistance to extreme weather conditions, coupled with its cost-effectiveness and aesthetic versatility, makes it an excellent choice for enhancing the value and appeal of your property.
Preparation and Safety
Before you start the installation of J-Channel for vinyl siding, adequate preparation and safety measures are crucial. This includes gathering all necessary tools and safety gear. For the installation, you might require a tape measure, level, hammer, circular saw, utility knife, and tin snips, among other tools. Safety gear such as gloves, safety glasses, and sturdy footwear is equally important to protect yourself during the installation process.
Besides tools and safety equipment, setting up a safe and efficient workspace is also essential. Make sure you have a clean, open space to work, keep your tools organized, and always be mindful of potential hazards, such as power lines when working near windows.
Measuring and Planning
The first step in installing J-Channel and vinyl siding is accurate measurement and thoughtful planning. Begin by measuring the dimensions of your windows, taking note of the width and height. This will help you determine the amount of J-Channel and vinyl siding needed for your project. Always remember the old carpenter's adage: "Measure twice, cut once."
Next, map out your siding layout. This involves determining the starting point of your siding, the direction it will run, and where the seams will land. Careful planning at this stage can help you avoid costly errors and ensure a professional finish.
Choosing the Right J-Channel and Vinyl Siding
Choosing the right J-Channel and vinyl siding is pivotal to the success of your project. These materials come in various styles, colors, and thicknesses. The style and color should ideally match or complement your home's existing design aesthetic. As for the thickness, a general rule of thumb is that thicker siding tends to be more durable and better at withstanding impact.
In Sacramento, numerous options are readily available for J-Channel and vinyl siding. GVD Renovations & Remodeling can help guide you through the selection process, ensuring you choose the best materials that suit your home's architectural style and your personal preferences.
Surface Preparation
Once you've got your materials and made your measurements, it's time to prepare the surface around your windows. The surface needs to be clean, dry, and smooth to ensure a proper installation. Remove any existing siding or trim around the window and repair any damage to the underlying surface. If necessary, install a layer of house wrap or insulation board to create a flat, stable base for your siding.
It's also important to check that your windows are level and securely fastened. Any issues with the windows should be addressed before proceeding with the installation of the J-Channel and vinyl siding. Remember, a good installation begins with a good foundation.
Cutting and Installing J-Channel
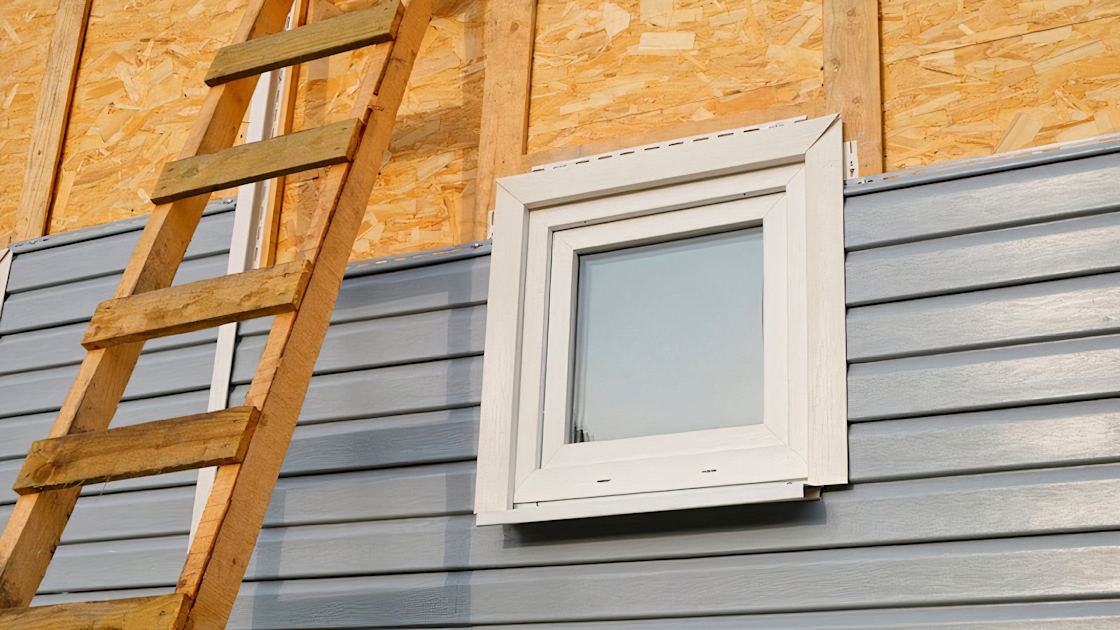
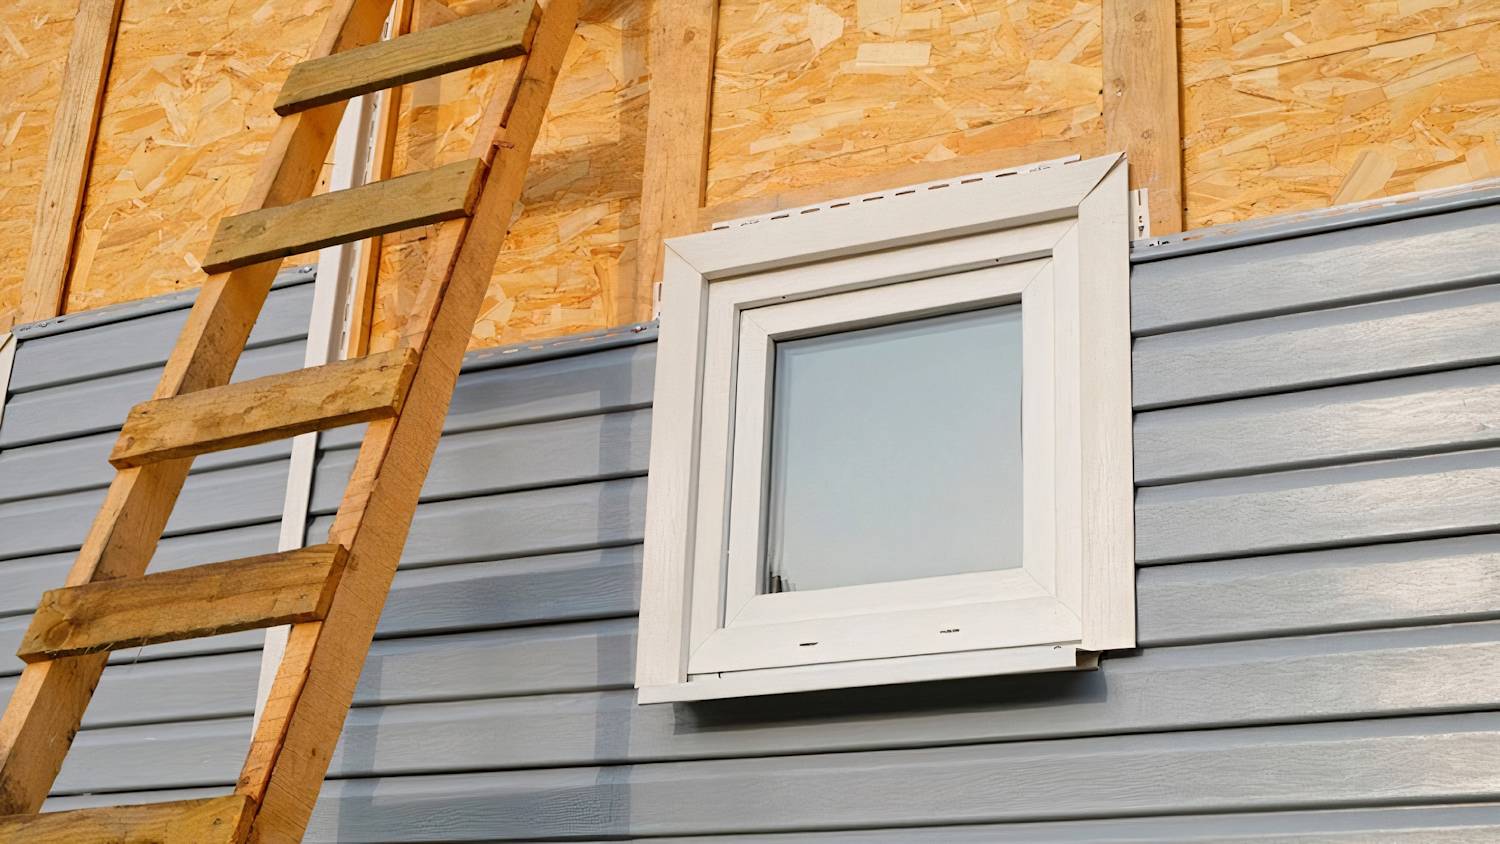
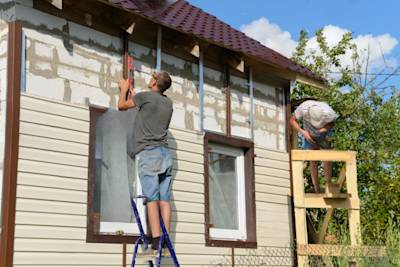
The installation of the J-Channel is a critical step in your siding project. Start by measuring and marking the lengths of J-Channel required for each side of your window. Cut your pieces to size using tin snips or a utility knife. Install the bottom piece first, followed by the sides, and then the top. When cutting the top piece, make sure to include extra length to create return tabs at each end, which will overlap the side pieces and help prevent water intrusion.
When attaching the J-Channel to your house, use roofing nails, ensuring not to drive them in too tightly. The J-Channel should be able to expand and contract with temperature changes. Pay attention to the corners, ensuring a tight fit. Remember, the J-Channel will provide the "frame" for your vinyl siding panels, so precise installation is key.
Cutting and Installing Vinyl Siding
Once the J-Channel is securely installed, you can move on to cutting and installing the vinyl siding. Begin by measuring the length and width of the space within the J-Channel frame around your window. Mark these measurements on your siding panel, and cut it to size using a circular saw or tin snips. Always double-check your measurements before cutting, as mistakes can be costly.
After cutting the panel to the correct size, snap it into the bottom J-Channel, then push it into the side channels. Make sure the siding panel fits snugly and aligns correctly. Continue this process, working your way up from the bottom of the window to the top.
Fastening and Securing
The next step is fastening and securing the vinyl siding. This is done using specific siding nails. Make sure to drive the nails in straight and level. However, do not nail the siding too tightly. Allow for a little play so the siding can expand and contract with changes in temperature without buckling or warping.
For securing the siding at the top of the window, you may need to use a snap-lock punch tool. This tool creates small tabs in the cut edge of the siding, allowing it to snap into the top J-Channel. This ensures the siding stays firmly in place, offering your home years of protection and aesthetic appeal.
Dealing with Corners and Trims
Corners and trims can often present a challenge when installing vinyl siding. However, with a few tips and tricks, they can be handled with relative ease. Corner posts are used for outside corners, providing a neat finish and allowing for the expansion and contraction of the siding. For inside corners, J-Channel can be used.
Window trims or casings add a polished and professional finish to your window. When installing these, measure the length needed, cut your trim pieces to size, and attach them to the J-Channel, ensuring a snug fit. Always remember, the trim should be installed in the following order: bottom, sides, and then top, which helps direct any water away from the window.
Waterproofing and Insulation
When installing J-Channel for vinyl siding around windows, it is essential to consider waterproofing and insulation. A high-quality water-resistant barrier, such as house wrap, can help protect your home from water damage. This barrier should be installed before the J-Channel and vinyl siding.
In addition to waterproofing, insulation is equally significant. It enhances the energy efficiency of your home, reduces utility bills, and improves indoor comfort. Insulation can be added beneath the vinyl siding, filling any gaps or spaces to prevent drafts.
Maintenance and Cleaning
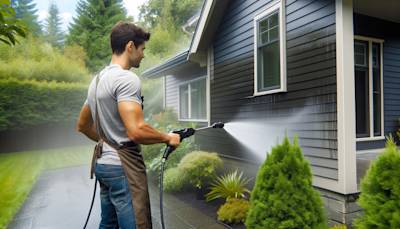
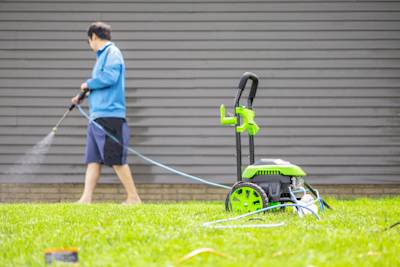
Maintenance and cleaning are vital to keeping your vinyl siding looking new and extending its lifespan. Fortunately, vinyl siding requires minimal maintenance. Regularly cleaning the siding with a soft cloth or brush and a mixture of mild detergent and water can help remove dirt and grime. For stubborn stains, a mixture of vinegar and water can be used.
Moreover, always inspect your siding annually for any signs of damage or wear and tear. If any panels are cracked or loose, they should be replaced promptly to maintain the integrity and appearance of your home's exterior.
Troubleshooting and Common Issues
Despite careful planning and installation, you may encounter some common issues with J-Channel for vinyl siding. These could include buckling or warping siding, water leakage, or loose panels. Buckling can be caused by nailing the siding too tightly, while leakage can be a result of improper installation of the J-Channel or siding.
In most cases, troubleshooting these issues involves adjusting or reinstalling the affected area. However, if you're unsure or the problem persists, it may be best to consult with a professional contractor like GVD Renovations & Remodeling, your trusted Sacramento siding expert.
Local Building Codes and Permits
One crucial aspect of any home renovation project is adhering to local building codes and obtaining the necessary permits. These codes and permits are in place to ensure that all work is carried out safely and to a certain standard. Failing to comply can result in fines, penalties, or even the removal of the work.
In Sacramento, it's important to check with the local building department for the required permits and codes for siding installations. A professional contractor like GVD Renovations & Remodeling can help guide you through this process, ensuring all work is compliant and up to code.
Final Inspection and Quality Check
Once the installation of the J-Channel and vinyl siding is complete, it's important to conduct a final inspection and quality check. This involves checking that all siding and J-Channel pieces are securely fastened and properly aligned. Look for any gaps, warping, or uneven areas that may indicate a problem with the installation.
Remember, your siding not only provides protection for your home but also contributes to its aesthetic appeal. Ensuring a quality installation is essential for maximizing your home's curb appeal and potential value.
Cost Considerations
When planning your project, cost is often a significant factor. The cost of installing J-Channel and vinyl siding around windows can vary based on several factors. These include the size and number of windows, the type and quality of materials used, and whether you choose to do the work yourself or hire a professional.
While it may be tempting to opt for cheaper materials or to do the work yourself, remember that quality materials and professional installation can result in a more durable and longer-lasting finish. Consider it an investment in your home's longevity and value.
Local Suppliers and Contractors
Finally, when embarking on your J-Channel and vinyl siding project, it's beneficial to know where to source quality materials and find professional contractors if needed. In Sacramento, local suppliers offer a variety of siding materials, including a wide range of J-Channel and vinyl siding options.
If you prefer to hire a professional, look for a reputable contractor with a proven track record. GVD Renovations & Remodeling, a recognized siding expert in the Sacramento area, offers superior vinyl siding and J-Channel installation services, ensuring a quality finish that adds value and appeal to your home.
Tags: J-Channel for Vinyl Siding,


