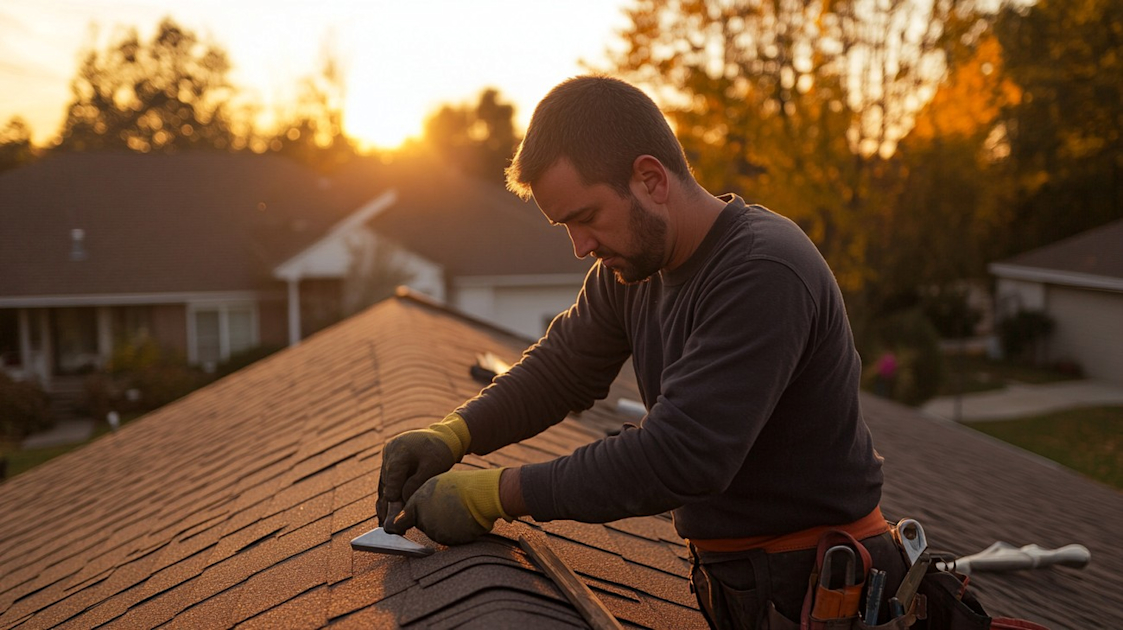
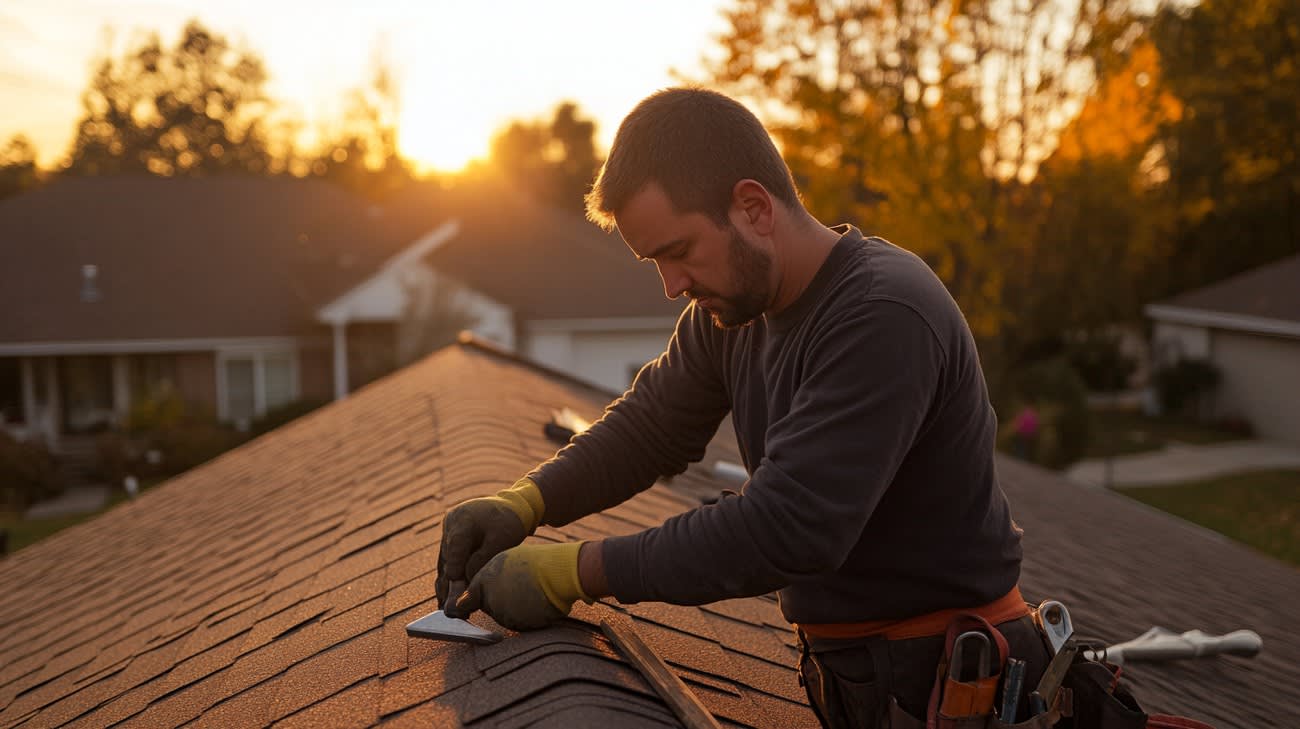
Your house forms the first line of defense against nature's elements, with your roof taking the brunt of the damage. However, when your roof gets damaged due to heavy storms or other natural disasters, a quick temporary fix is to tarp your roof. This article will guide you through the process of how to tarp a roof, providing you with step-by-step instructions, safety tips, and various strategies.
What Exactly Is Tarping a Roof?
Tarping a roof is a method of preventing further leakage or damage to a roof which is already compromised. It involves covering the damaged part of your roof with a heavy-duty tarp until permanent repair or replacement can be made. Tarping is useful in avoiding water damage to the inside of your house, and preserving the integrity of insulation and other internal structures.
When To Tarp Your Roof?
Choosing to tarp your roof is generally a temporary solution. It’s typically done after a damaging storm, wind damage, fire, or while waiting for a roofing company to come out and repair the problem. If you're waiting on insurance claims, tarping your roof can help you prevent any further damage.
Step-By-Step Guide On How To Tarp A Roof
Tarping a roof can be a risky task, especially for individuals who are not comfortable with heights or who don't have the proper safety equipment. If in doubt, always hire a professional. If you decide to proceed, you’ll need the following materials:
- A thick, durable tarp (generally blue poly tarps)
- 2x4 lumber
- Heavy roofing nails
- Hammer
- Utility knife
- Gloves
- Safety harness, rope, and anchor
- Ladder
Step 1: Assessing The Damage & Safety Precautions
Take your time to assess the damage from the ground if possible, making a note of how many tarps you might need. Remember to make safety a priority in every step of the process.
Step 2: Preparing And Placing The Tarp
- Cut the tarp so that it's large enough to cover the damaged area. Add an extra 4 feet all around to ensure a good overhang.
- Spread the tarp evenly across the damaged area maintaining at least a 4-foot overhang on the roof's peak.
Step 3: Tarp Installation
- Cut your 2x4s to match the lengths of your tarp’s sides. These will act as strapping to prevent the tarp from blowing away.
- Fasten the tarp to the 2x4s, wrapping them tightly.
Step 4: Secure The Tarp To The Roof
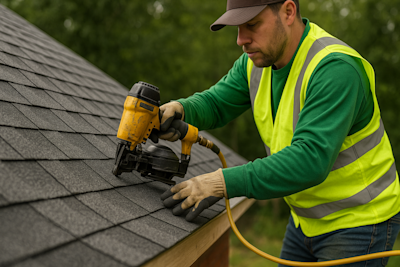
- Use the 2x4s you've attached to your tarp and nail them into your roof. This provides a secure attachment point for your tarp and helps prevent wind from tearing it off.
Step 5: Checking Your Work
After all the hard work, make sure to check your work from different angles to ensure that all portions are secure and no part of the tarp is loose.
Tips & Suggestions For How To Tarp A Roof
Here are some additional tips and suggestions on tarping your roof:
- Wait until weather conditions are favourable before you start.
- If possible, have a friend or family member assist you during the process.
- Once the tarp is installed, frequently check it to ensure it remains secure until the roof is repaired.
- Look for a tarp that is resistant to UV rays, it will likely last longer on your roof.
Frequently Asked Questions about How To Tarp A Roof
Can I Tarp My Roof Myself?
Yes, you can definitely tarp a roof by yourself. However, it is considered a risky task because it involves climbing up on your roof. If you are not careful, you might get injured. It's highly suggested that unless you have prior experience or are confident in your abilities, to hire a professional roofer or a roofing company instead.
What Are the Materials Required to Tarp a Roof?
In order to tarp a roof, you will need a few basic supplies. These are a roof tarp, work gloves, a utility knife, a measuring tape, sandbags or wooden boards, a ladder and safety ropes. A high-quality tarp is crucial because it's going to be what primarily protects your home from further damage.
How Do I Choose the Right Size of Tarp?
For effective roof tarping, the tarp should extend past the damaged area by at least 3 feet in all directions. Consider using multiple tarps if the damaged area is large, but ensure that the tarps overlap by a minimum of 2 feet. Remember, it's better to have a slightly larger tarp than your measurements than one that's too small.
Can Roof Tarping Over Shingles?
Yes, you can tarp over shingles. In fact, it's recommended to tarp a roof over damaged shingles to prevent further damage and leaks.
How Long Can a Tarp Stay on a Roof?
A tarp on a roof isn't meant to be a permanent solution. It's best to repair the roof as soon as possible. A tarp is only meant to weather temporary problems. On an average, a secured tarp should last around 90 days, so it's important to schedule repairs within this timeframe.
How Do I Secure a Tarp on My Roof?
To secure the tarp, first make sure it is evenly spread over the damaged area plus an additional three feet in each direction. Secure the tarp down using sandbags or wooden boards around the edges to hold it in place. It's important that no area of the tarp can easily flip up, allowing wind under it, as this can rip the tarp.
What If I Can't Repair My Roof Within 90 Days?
If for any reason you aren't able to repair your roof before the tarp wears out, it might be necessary to replace the tarp with a new one. Although this isn't ideal, it's better than allowing further damage to your roof and home.
What Are the Risks of Tarping a Roof?
The major risks of tarping a roof are potential falls and improper installation. If you're not comfortable or experienced working at height, it's safer to hire a professional. Improper installation can result in the tarp ripping or becoming loose, which can lead to the continuation or exacerbation of existing damage.

Pros of Tarping a Roof
Immediate Protection
Protection from Interior Damage
The swift nature of setting up a tarp on a damaged roof ensures the protection of your home's interior from the possible onslaught of water damage. A tarp serves as a clear barrier that repels invading rainwater, thus keeping your ceilings, walls, insulation, and electricals safe.
Protects Against the Elements
Roof tarping also provides immediate protection against all elements. Be it rain, shine, or wind, a good quality tarp can withstand and protect your home. This protection can be crucial, especially during stormy seasons when weather conditions are harsh and unpredictable.
Cost-Effectiveness
Saves on Renovation Costs
Setting up a tarp on a roof is relatively inexpensive compared to a full-fledged renovation. In case of severe damage, this method can prove to be an economical savior until you're ready for a permanent fix.
Minimizes Extensive Repair Costs
Tarping a roof acts as a form of preventive maintenance. It avoids further damages that would lead to more extensive and costlier repairs in the future.
Accessibility
Easy To Install
Tarping a roof doesn’t require any specialized tools or skills. More often than not, it can be a DIY project, which implies you don't have to depend on external help.
Widely Available Materials
Tarps are commonly available in most home improvement stores and even online. Depending on the size of the roof and the degree of damage, tarps can be appropriately chosen to match the requirement.
Cons of Tarping a Roof
Temporary Solution
Tarping is Not a Permanent Fix
While it offers immediate protection and buys you some time, tarping is primarily a temporary solution. It is not designed to replace permanent repairs or professional roofing services. Leaving a tarp on for extended periods can actually cause further damage.
Potential for Frequent Replacement
Tarps can degrade with time and exposure to harsh environmental conditions. They may need to be replaced frequently if the permanent repair is significantly delayed, incurring extra costs and effort.
Installation Challenge
Safety Risks
Installation of roof tarps can be a risky job, especially for large roofs and in bad weather conditions. Falls from roofs can lead to severe injuries and are a leading cause of death in construction-related occupations.
Incorrect Installation
Despite being doable as a DIY project, there’s a risk of incorrect installation. An improperly installed tarp can fly off or cause water to pool, exacerbating the original problem.
Limited Aesthetic Appeal
Tarps are not designed keeping aesthetics in mind. They are primarily made for practical purposes. This may hamper your home's overall look and curb appeal.
Environmental Factors
The very materials that allow tarps to withstand the elements might have negative impacts on the environment. Some tarps are made of materials that do not decompose easily, posing a potential hazard to the environment. The production of these tarps can also contribute to pollution and resource depletion.

Myths and Misconceptions about Tarping a Roof
Understanding common myths and misconceptions can guide appropriate decision-making when it comes to tarping a roof. Here, we will debunk several myths and provide clarifications based on facts.
Myth 1: Tarping a roof is an easy DIY Job
Misconception
Many people believe that tarping a roof only requires a tarp and few nails, thus anyone can do it. The apparent simplicity of the work often leads homeowners into thinking that they can perform this task themselves.
Fact
The truth is, tarping a roof can be a complex and potentially dangerous, particularly for roofs with steep slopes or during bad weather. Securing a tarp improperly can, in fact, cause more damage to the roof.
Myth 2: Any tarp will work
Misconception
The common misperception is that any old tarp will do the job when it comes to tarping a roof.
Fact
In reality, not all tarps are created equal. To effectively prevent additional damage to your roof, a high-quality, durable, and waterproof tarp should be used. Additionally, the tarp should be of an appropriate size to adequately cover the damaged area.
Myth 3: Tarps are the ultimate roof solutions
Misconception
Some people believe that once the roof is tarped, it can stay that way for a very long time and continue to offer protection against weather conditions without further intervention.
Fact
While tarps serve an essential function in preventing further damage to your roof, they are not a permanent solution. A roof repair or replacement should be completed as soon as possible to ensure the integrity of your building structure.
Myth 4: The Insurance company will cover the cost
Misconception
Many homeowners think that tarping a roof is automatically covered by their home insurance policy.
Fact
While it's true that insurance companies are likely to cover the cost of tarping a roof if it is part of an overall repair following a covered peril, not all insurance companies will shoulder the expense. It is advisable to communicate first with your insurer to understand what parts of the damage they will cover.
Myth 5: Any damage requires tarping
Misconception
The belief exists that any sign of damage on a roof, such as missing shingles or small leaks, automatically requires tarping.
Fact
Minor problems such as missing a few shingles or a small leak don't necessarily warrant tarping unless there is a significant risk of further damage if left unprotected. Tarping should be used when there is extensive damage and the property needs to be protected before repairs can be made.
Myth 6: Tarps will cause further damage to the roof
Misconception
Some people are reticent about tarping because they worry that it will cause further damage to the roof.
Fact
When secured properly, a tarp will not lead to more damage; instead, it serves to protect the weakened roof from further destruction. However, incorrectly placing a tarp or using inappropriate techniques can increase the chances of inflicting more harm.
By debunking these common myths and misconceptions about tarping a roof, homeowners will be better equipped to make informed decisions when dealing with roof damage. Remember that the safety of the dwelling's inhabitants is of utmost importance, and hence professional help should always be considered before tarping a roof yourself.
Summary
So, now you know the basics on "how to tarp a roof". It's a straightforward process that involves selecting the right tarp, securing it properly, and covering all the damaged areas. Remember, how you tarp your roof can make a significant difference in preventing further damage. It's always wise to practice safety measures and have a helping hand when doing it.
Now that you've learned about how to tarp a roof, you can handle roof damage like a pro. But remember - tarping is a temporary solution. Contact a professional to handle the permanent repairs. You got this, but it's okay to ask for help. After all, it's about protecting your home and, more importantly, the people inside it.
We've tackled the steps on how to tarp a roof, but we've got one last thing to emphasize - tarping a roof is not a permanent fix. Use it as a quick fix to prevent further damage until a more permanent repair can be done. Doing this right can save your home from potentially thousands in water damage. Not too shabby for a piece of plastic, right?
About GVD Renovations & Remodeling
GVD Renovations & Remodeling is your friendly, neighborhood home renovation and remodeling company based in Roseville, CA. We are devoted to providing high-quality craftsmanship for the remodeling and renovation of homes all around our area. With decades of experience, we blend traditional methods with modern technology to turn your home into a masterpiece! Don’t hesitate to reach out to us for kitchen, bathroom, siding renovations or even window replacements. We're passionate about transforming spaces and dedicated to delivering an enjoyable remodeling experience. It's your dream home, let's renovate it together!
This article is for general information only and not professional advice. Always consult a licensed contractor before making project decisions. Product details, specifications, or warranties may have changed since publication. Brand and product mentions reflect opinion, not endorsements or guarantees.
Tags: Roofing, Tarping, Home Maintenance,


